
Best Ever Homemade Gluten-Free Bread

In the last year or so I’ve made a concerted effort to make my own bread at home. Once I finally got a good dutch oven, I started with simple overnight no-knead breads, which are fantastic. Then I got into the world of sourdough, which was a learning curve. A fun learning curve, but still quite an adventure.
My breads almost never turn out perfectly, but even imperfect homemade bread fresh from the oven beats stale, overpriced grocery store bread by a mile. From a budget, taste, and usually health perspective- homemade is always better.
Gluten free bread, however, is a new frontier for me.
I had serious doubts about homemade gluten free bread actually tasting good…or being easy to make. And since we don’t have any intolerances in my home, I never put in the effort to experiment.
Until today.
The moment I saw this recipe I knew I had to try it.
It looked not only simple (and actually quite similar to the standard bread-making procedure I’ve become used to)... but actually like it might taste good. And as it came with such an incredible review from the person who introduced it to me, I was simply too curious to let it go.
I’m so happy I followed that curiosity, because now I can share with you the recipe for what might be the best gluten-free bread you’ll ever make. It is hearty, chewy, crusty on the outside, no weird aftertaste… It's everything good bread should be. It’s also full of fibre, making it an even more gut-healthy option than typical white sourdough. I’m so happy to have this recipe in my back pocket for my gluten-free family members and clients, and also just add some nutritious variety to my own family’s bread routine.
One note: this bread definitely has a “whole wheat” flavour, thanks to the buckwheat and psyllium- so just be aware it might be an adjustment from the typical store-bought gluten-free breads made mostly with white alternative flours and starches, especially for kids!

Here’s what you’ll need:
A large dutch oven with a lid
A bread proofing basket/banneton (a towel-lined bowl would likely also work)
A kitchen scale for measuring ingredients
Parchment paper
Ice
Dry Ingredients:
260 g buckwheat flour
200 g potato starch (NOT potato flour)
180 g brown rice flour
20 g salt
Yeast Mixture:
16 g active dried yeast
40 g honey
150 g warm water
Psyllium Mixture:
240 g water
40 g psyllium husk (rough husk form)
Vinegar:
24 g apple cider vinegar
Directions:
1 . In a small bowl, mix together the yeast, honey and 150g warm water. Set aside for 10 minutes or until the mixture starts bubbling/frothing.
2. In another small bowl, combine 240 g of water with the psyllium husk. A gel will form almost immediately. Set aside.
3. Combine all the flour ingredients in a large bowl: buckwheat flour, potato starch, brown rice flour and salt.

4. Add the yeast mixture, psyllium gel and apple cider vinegar to the dry ingredients. With clean hands (you may want to get them wet to prevent sticking), knead the dough until smooth- about 5 minutes. It may still be sticky, but it should come together. You can do this by hand or with a stand mixer.
5. Form the dough into a ball, and put it into a lightly oiled bowl. Allow to rise in a warm spot for about 90 minutes, or until doubled in size.
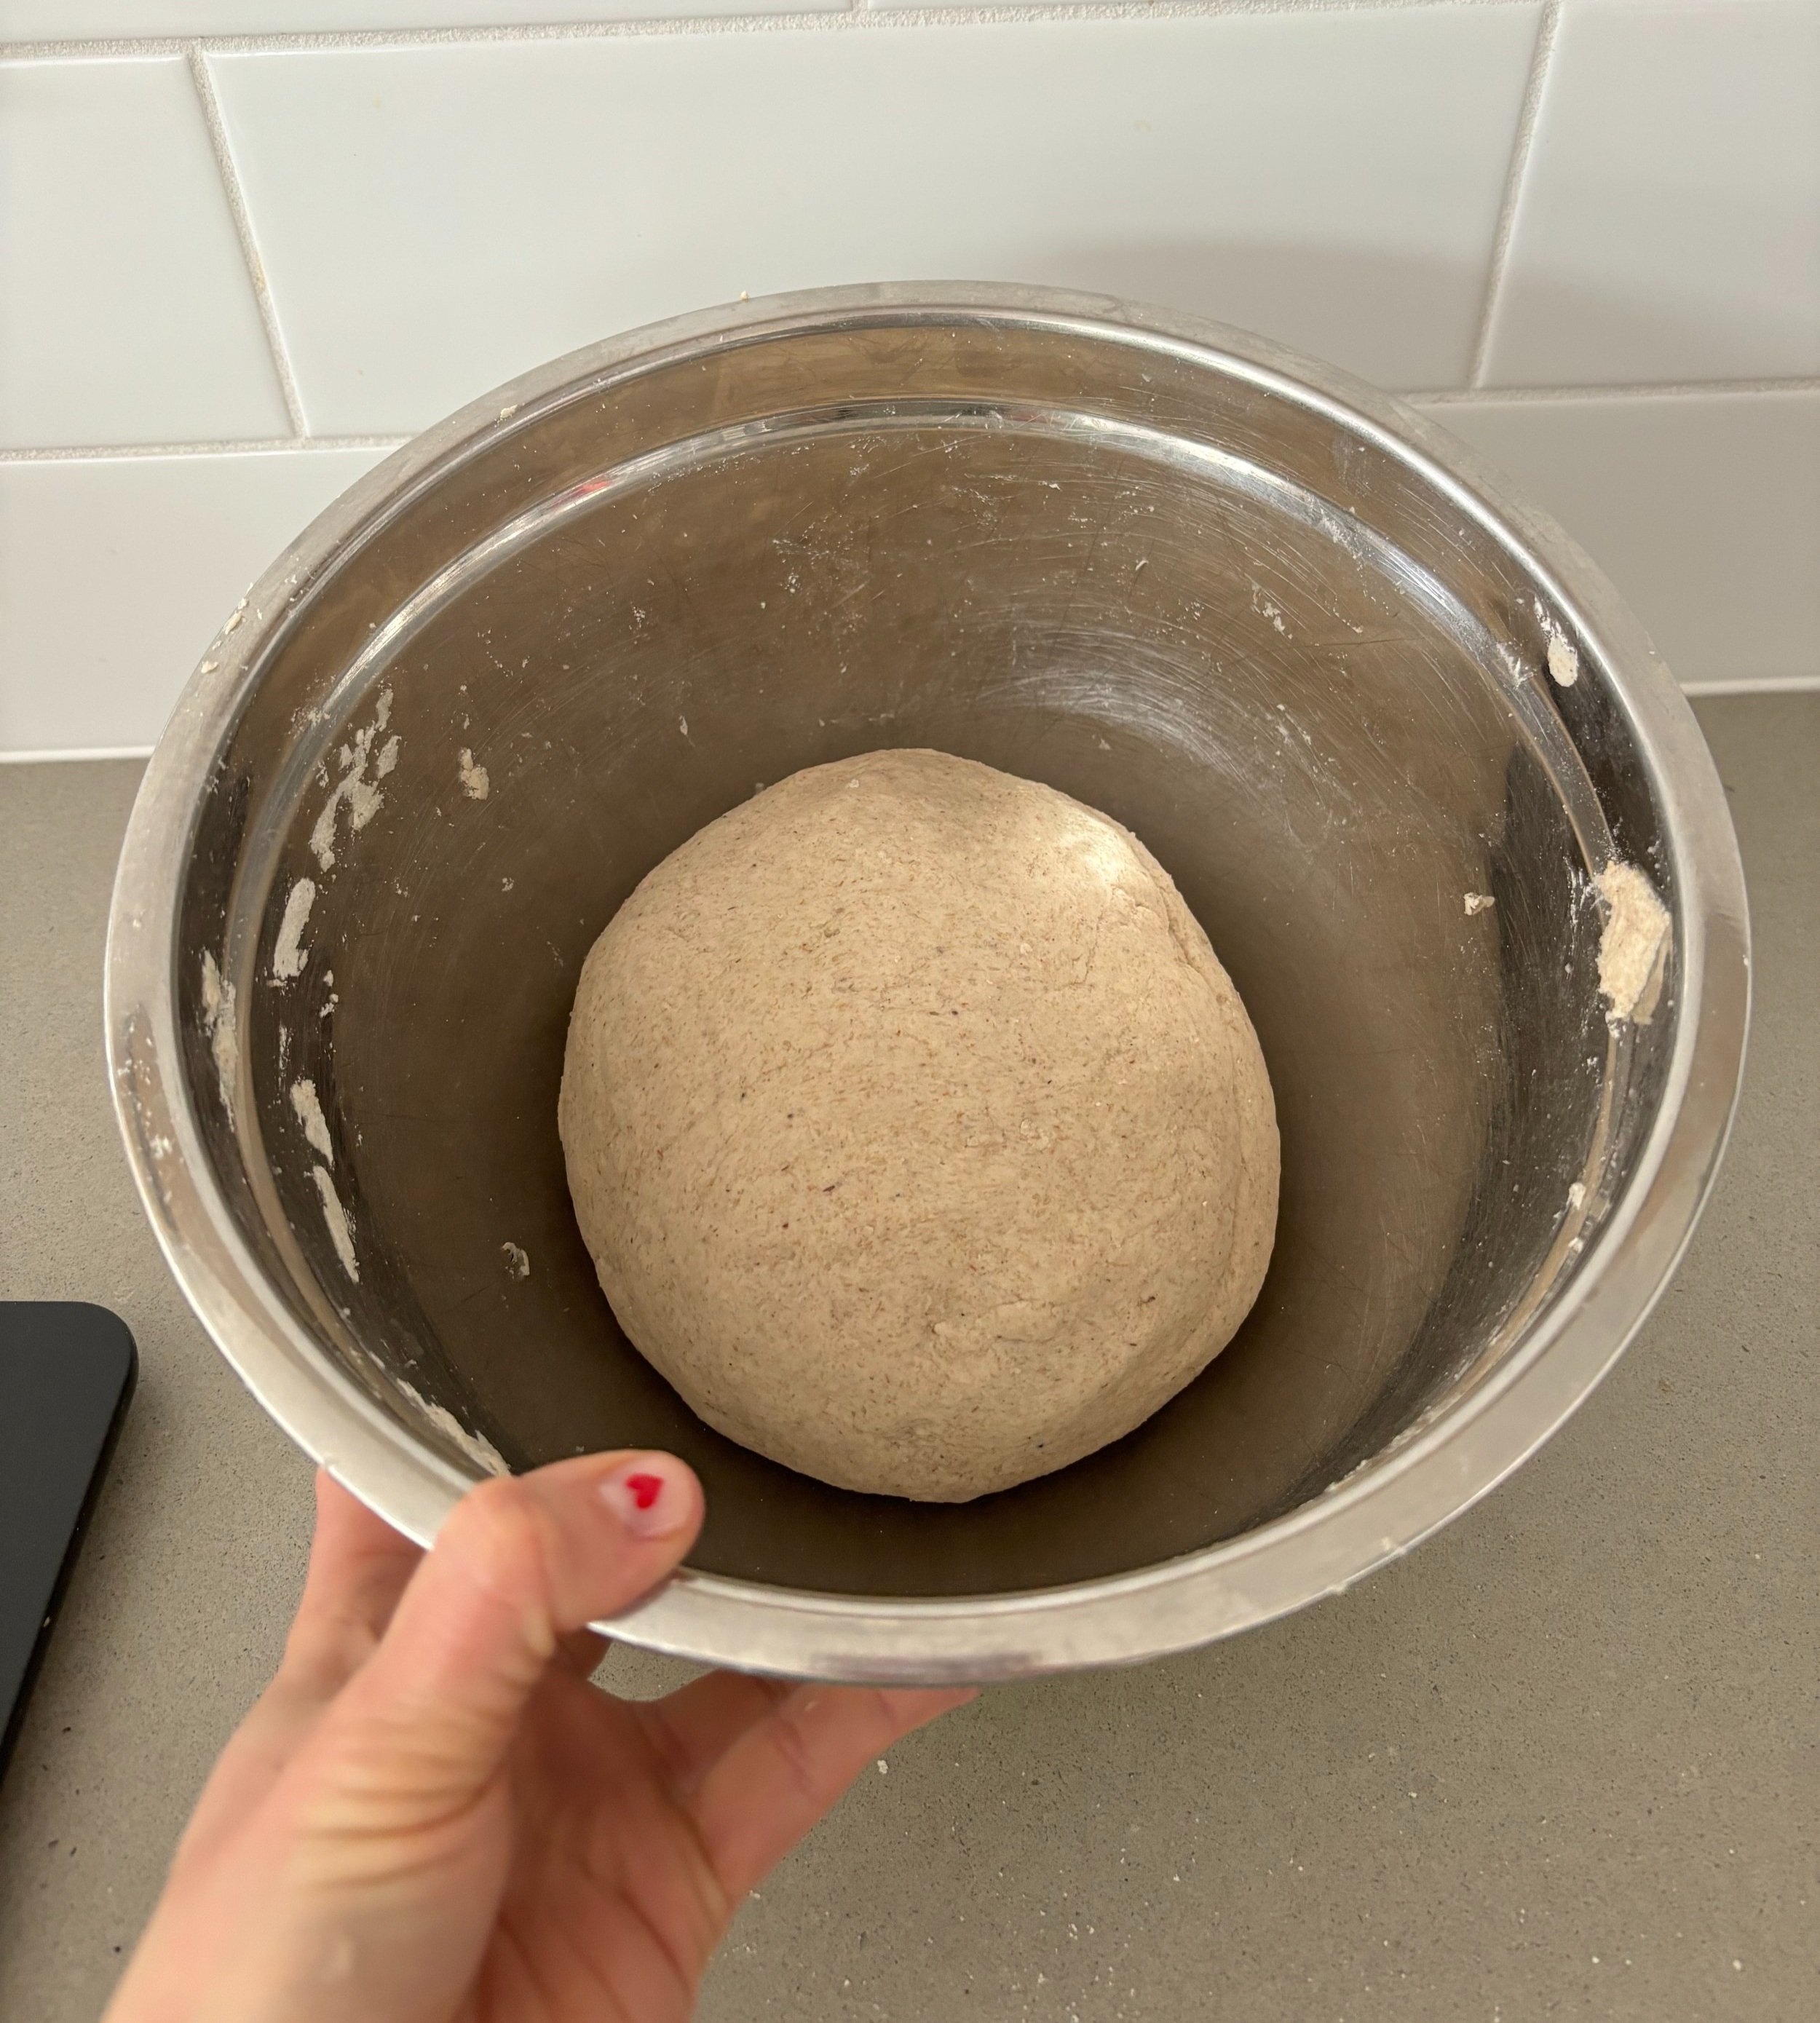
before rising
6. Once risen, tip the dough onto a floured work surface and gently shape into a tight ball.
7. Transfer dough to your lightly floured banneton, seam side up. Cover with a wet dish cloth and put it in a warm place to rise again for about an hour.
8. While your dough is rising, preheat the oven to 480 F and place your dutch oven inside to get hot.

ready to bake!
9. After an hour (the dough should double in size again), flip your dough upside down (or, seam-side down) onto a large piece of parchment paper, and score the top with a sharp knife. I did a simple cross, but you can get as fancy as you like. Take the hot dutch oven out, transfer the bread into it, and carefully put 5-6 ice cubes between the parchment paper and the dutch oven. This will create steam. Put the lid back on, and bake for 20 minutes covered.
10. After 20 minutes, turn down the oven to 450 F, and remove the lid of the dutch oven. Bake for another 45 minutes. The final product should be a deep, toasty brown.
11. Transfer the loaf to a cooling rack and let the bread cool completely before cutting.
Storage: Store in a closed container in a cool dark place for 3-4 days, or slice and freeze.

final bread baby!
I hope you love it as much as we do! Let me know if you make it - I’d love to see your beautiful bread on instagram. Tag me @lizdornian!
Original recipe (I made a modification or two) credit to: https://theloopywhisk.com/2020/04/02/ultimate-gluten-free-bread/
Need more healthy recipe ideas? I have a free e-book with 25 of my favourites- all gluten-free, too! Click the link below to grab it.